Checklists:
- Add Contacts Manually: Enter contact details one by one using the Add Leads form and invite users to the platform.

- Import Contacts: Upload a CSV file with your contacts’ information to bulk add them.

- Organize Contacts with Tags for Personalized Communication and Offering Visibility
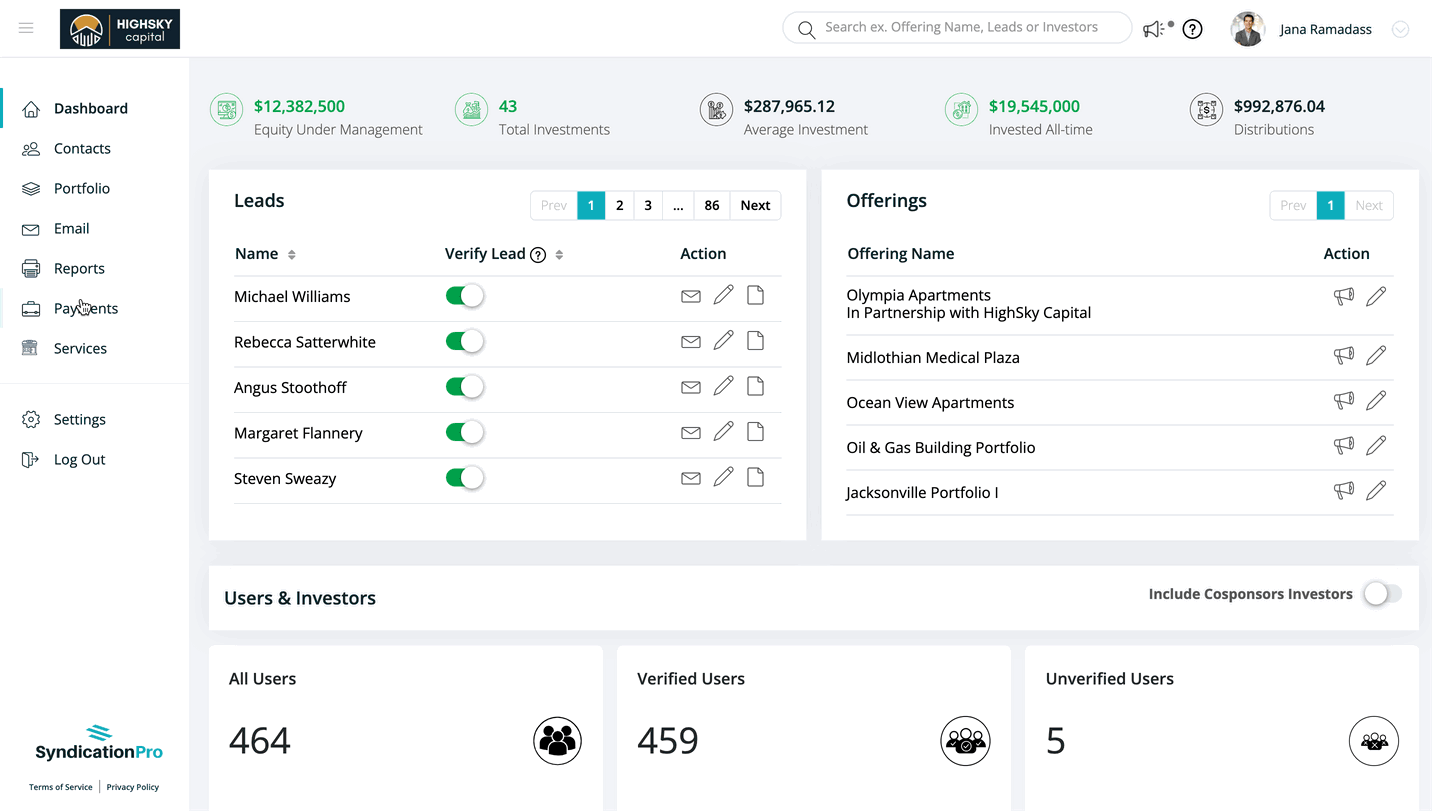
Contacts on the platform can be organized into groups using "Tags" for personalized communication. You can also control visibility by assigning specific Tags, ensuring that only contacts within that tag can view the offering.
Commonly used Tags: Friends & Family, IRA Investors, Accredited Investors, High Value Investors, and Tags based on Investor's Investment Capacity.
Important points to remember:
- Ensure that you provide the First name, Last name, and email address of the contact(s) when filling out the sample file as these details are mandatory.
- Additionally, make sure to indicate "Yes" in the last two columns for Company Newsletter/Updates and New Announcements to ensure that contacts opted to receive emails as part of their email subscriptions.
-
The checkbox "Send invitations to register email" automatically sends an email for login. Kindly uncheck to opt out from sending invitation to the contact.
You can customize the content of the invitation in Settings > Notifications > User Notifications > Invite to register Email template.
👤 For questions or help with the process, email us at success@sponsorcloud.io or Schedule a meeting. An experienced Customer Success Manager will reach out to assist you.